Hosted Checkout
The Hosted Checkout integration method is ideal when you want a solution that is both secure and fast to deploy. In this integration, you create a checkout session where the Mastercard Gateway hosts a payment page UI that gathers payment information from the customer, so you need not handle sensitive data at all.
For initial transactions that require payer participation (to provide their payment details), you use the checkout session to display a Hosted Payment Page for the payer. For merchant-initiated and subsequent transactions that do not require payer participation, you simply send an API request from your server.
Hosted Checkout does have some limitations, mainly that you cannot customize the payment flow and payment page UI beyond adding your merchant-specific name and logo.
Supported payment methods and transactions
| Payment methods | Transactions |
|---|---|
All except:
|
Transactions: With payer participation:
|
To learn about the Hosted Checkout integration method, review the following:
- To understand how to establish a checkout session, implement the Hosted Payment Page, and interpret the payment response, see Integration Steps.
- To find out how to customize the Hosted Payment Page, see Customize the Checkout.
- To learn how to use Hosted Checkout for follow-up transactions, see Subsequent Operations.
- For information on additional Hosted Checkout features, see Features.
- To understand the steps needed to test your integration, see Testing Steps.
- For an overview of taking your integration live, see Go Live Checklist.
Key benefits
Hosted Checkout has the following key benefits:
- Integration process is simple and quick.
- You do not need to handle or store any payment details, which may lower PCI compliance costs.
- You can use the theme offered by your payment service provider to display your Hosted Checkout interface. This allows you to leverage the brand of your PSP. A strong brand reduces a payer's reticence to provide payment details.
- You can customize the content of the Hosted Checkout interface to display your business information.
- If you have subscribed to notifications, you can choose to be notified when the payment is successful.
- Hosted Checkout is WCAG (Web Content Accessibility Guidelines) 2.0 Level AA compliant.
Information flow
The information flow for creating a transaction with Hosted Checkout using the Hosted Payment Page is illustrated below:
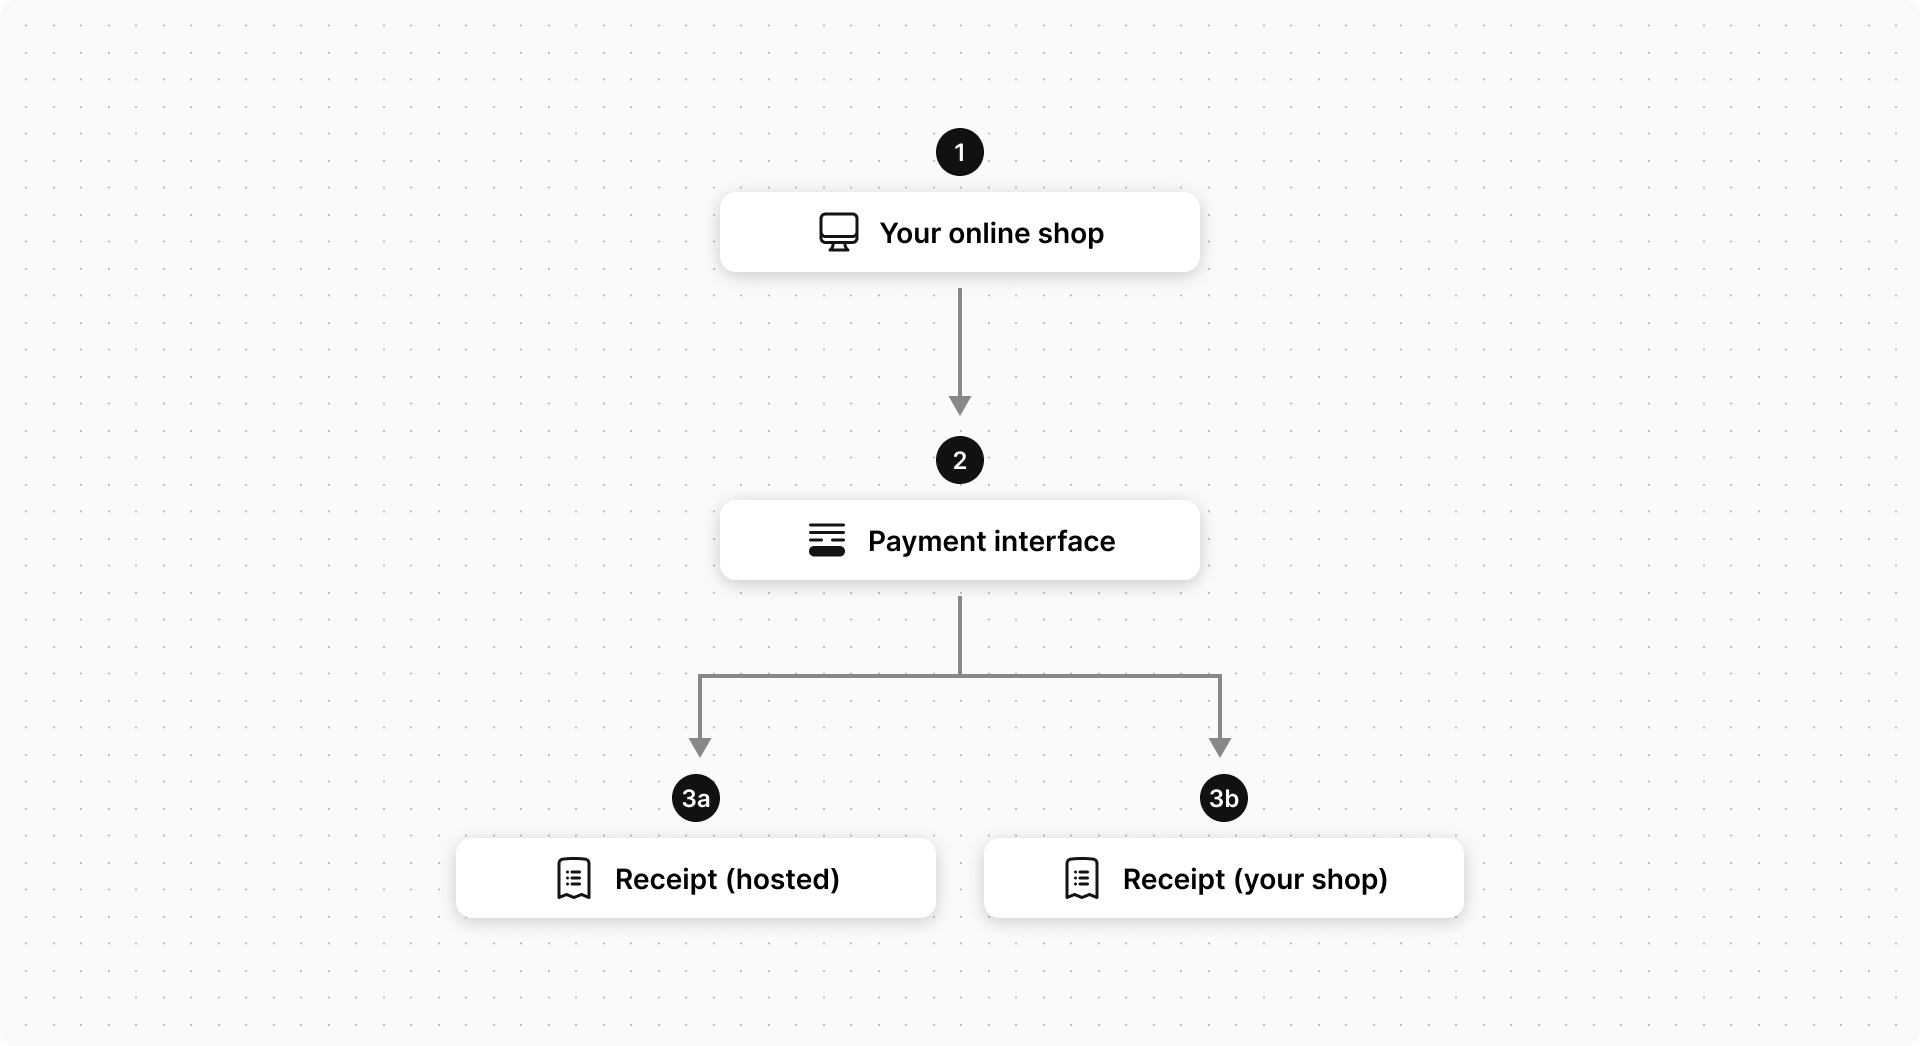
- The payer initiates the payment process for goods and services at your website. In response, your application submits a JavaScript request with the required data to the gateway to display the chosen payment interface: either an Embedded Page or a Payment Page.
- The payer is presented with the payment interface. The display content (like your business information and order details), as well as other aspects of the payment interface, are controlled by the data in your request.
The payer enters the required information, and then selects Pay.
The gateway collects and verifies the payment details and processes the payment.
- If you are configured for a browser payment service such as PayPal, or a digital wallet service, these services display as a payment options alongside other card-related payment options. If the payer chooses to pay using one of these services, they are redirected to the applicable service provider's website to define their payment details.
- If a payer chooses to pay using their card, they can enter either credit or debit card details during the checkout interaction. However, if at least one of your acquirers supports combo cards, as in cards that can be used as either debit or credit cards, the payer is required to make a payment method selection on the payment page — Debit Card or Credit Card — to specify the mode the card should operate in for this payment.
- If you are configured for the Click to Pay payment method, it is not displayed as a separate payment option. Instead, when the payer email is provided, the payer is prompted for a One-Time Password (OTP) and the cards stored within the payer's Click to Pay profile are automatically listed and can be selected. If the payer does not have a Click to Pay profile, they are offered an option to create it.
- If you are configured for 3D Secure (3DS) authentication, by default your payer is prompted to authenticate before performing the payment. You can choose to bypass the authentication, see Bypass Security Features.
- If the payment is successful, the payer can obtain the payment receipt from one of these sources:
- Gateway-hosted receipt (on either the Embedded Page or the Payment Page). This is the default behavior.
- Your app or website
You can also subscribe to payer notifications to allow the payer to receive the receipt through email.
If the payment is unsuccessful, Hosted Checkout displays the result, allowing the payer to retry the transaction with different payment details.